Blog Post 1 - Faucet
Using subdivision modelling to make a realistic faucet
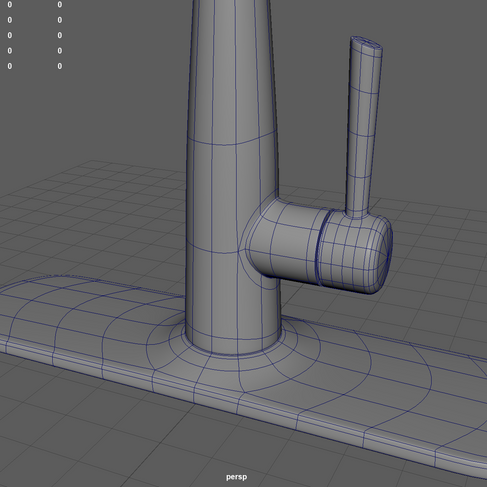
For the first assignment of the class, we were tasked to model a realistic faucet using subdivision modelling in Maya. We were given reference images to work off of, and tasked with creating, texturing, and rendering the model ourselves. I began by using primitive geometry to create a base shape and topology, and used the smooth preview in maya to adjust the edge loops.


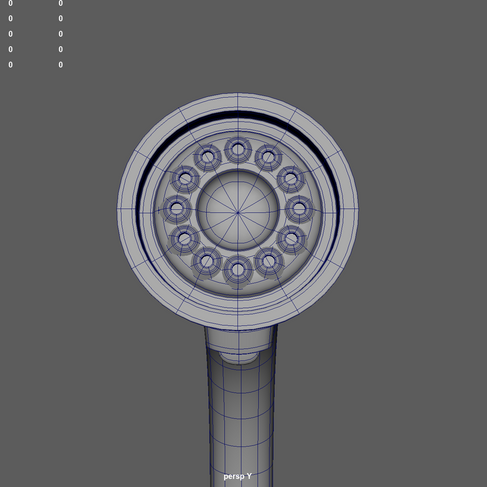
Once I got the basic geometry in place, I added details, such as the interior of the nozzle. Once I was happy with all of the geometry, I switched to smooth preview mode to ensure that all of the topology was smooth, flowed well, and kept its shape.


Once I was happy with everything, I divided the model into major pieces and organized it. Then, I unwrapped each piece and organized all the UV maps so that it was ready for texturing.


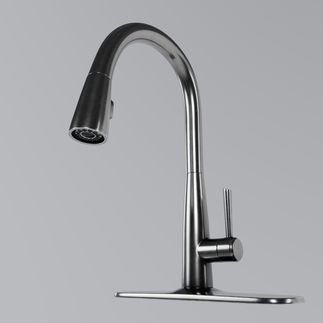
I textured the model in Substance Painter. I used a polished metal material with scratch details for the majority of the model, as well as textured plastic for the button and rubber for the interior nozzles. For the metal I also added Ambient Occlusion and dirt/grunge generators to give it more depth and simulate water spots and grime. Lastly, I added metal edge wear to give it some added realism.


Once I was happy with the textures, I exported them into Toolbag and took some final renders of the finished faucet.